Manual for use at home birth
We aim to make the use of water for labour and birth accessible for all women. We hope you can enjoy the benefits as many women have done with Birth Pool in a Box.
Preparation is a key success factor. Take time to read this manual and avoid disappointment.
Best wishes for your birth!
Contents
- Warnings & important information
- 12 Steps to Success with Birth Pool in a Box
- Things to do before labour begins
- Setup the Birth Pool
- Filling the Birth Pool
- Emptying the Birth Pool
- Cleaning and Packing Away
- Troubleshooting
- Warranty Support
Warnings & important information
DO NOT LEAVE THE BIRTH POOL UNATTENDED WHEN FILLED, ESPECIALLY IF CHILDREN ARE PRESENT
Our birth pools are Personal products – for use by one woman only – unless they are marked as a Professional model. Do not accept a Personal pool as a loan or hire pool. This is marked on the pool labels on the bag and next to the top large white valve on the pool.
Store at above 5° C indoors.
Read and follow all instructions before opening the pool and setting up.
Remove pool from all packaging and warm up to room temperature for 72 hours before unfolding and handling.
Do a practice set-up of the pool at 37-38 weeks to familiarise yourself with it and check it.
Do not use the pool outdoors before using it for birth.
Do not inflate Mini pools to a height of more than 72 cm and Regular pools to more than 77 cm.
Always ensure the pool and liner are at room temperature before unfolding, inflating or folding. This takes 72 hours.
Do not use an industrial compressor to inflate the pool or air pump rated higher than 0.9 Psi.
Ensure all plugged-in portable mains electrical devices are not able to reach the pool with water in it to avoid risk of accidental electric shock.
Ensure this pool is placed on a surface strong enough to support its filled weight including occupants
and supporters.
Ensure the pool is placed on a flat surface free of sharp objects and prepare the surface thoroughly before setting up and filling the pool.
Do not fill the pool with water above 45 °C.
Inflatable products naturally lose a small amount of pressure over time – top up before use and secure valves tightly.
Inflatable products are affected by changes in temperature – if the pool appears to have lost pressure overnight, top up with air, check all valves are securely closed and check after 4 hours at constant temperature.
Check any applicable local laws regarding child safety fencing if using pool outside as a leisure pool.
Do not allow children to handle or use the tap connectors or hosepipe.
Always consult a qualified midwife or doctor before using this pool for birth.
Always supervise children playing in or near the pool.
12 Steps to Success with Birth Pool in a Box
These are distilled from our experience supporting thousands of births. Get most or all of these sorted and you’ve given yourself the best chance possible.
Note: these assume that you have discussed using water for labour or birth with your midwife and have decided to go ahead.
1. Plan for Success
Assume that you will have your home water birth and plan accordingly. To do otherwise undermines your chances of success. Labor is often unpredictable but if events take a different course you can know that you did everything you could to achieve the birth you wanted.
2. Involve your partner
Get your partner involved! Have him/her review the instructions and technical specifications and take ownership of the set-up, filling, temperature management and emptying.
3. Check the floor strength – your pool filled with water will weigh up to 657 kg
If not using pool on ground floor, ask a wood preservation company to check the integrity of your home’s floor boards and joists. They will usually do a free quote for any work required.
4. Review instructions
Takes 10 minutes. Do it at 36-38 weeks, then follow them!
5. Check tap connectors and hose
Check that you have a faucet/tap connector that fits a suitable tap in your home. If not, either buy an alternative at a hardware store or try a different tap. Then check that your hose will reach from tap to pool.
6. Check hot water capacity
Turn up the temperature on your boiler. If you don’t have an on-demand boiler, test how long it takes to fill the bath 4 times (for Regular pool, 2.5 times for Mini). If it take more than 1.5 hours, consider how to create hot water in other ways, eg kettle, urn, large pans on stove. Be careful where you pour hot water!
7. Prepare the floor
Sweep or vacuum the floor before putting the pool down. If your floor is stone or ceramic, cover it with a blanket first to reduce heat loss through floor.
8. Warm up the pool
Make sure the pool and accessories are at room temperature before unfolding and handling. PVC is brittle below 10 °C and it takes 72 hours for the innermost material to warm up when the pool is folded and out of its packaging.
9. Practice set up
Practice setting up the pool between 36 and 38 weeks. A full practice including filling with water is even better and soaking in a pool can help with late pregnancy back pains and SPD. Remember to use a new liner for birth.
10. Reduce ventilation
When you start to fill the pool with water, close the windows, vents and doors to reduce ventilation. Once the room reaches equilibrium humidity, the rate of heat loss will fall significantly. Covering the pool before getting in also helps.
11. Start filling the pool early
If your labor is progressing fast, fill the pool at 37 °C. If it is early days but you want to get started, fill half full at 40 °C and take stock before continuing. Do not get into a pool with water above 37.5 °C – you will be hot in labor and overheating can be dangerous for your baby.
12. Mix the water
Mix up water before taking a temperature reading. This is especially true if you are adding hot water at the bottom of the pool.
Things to do before labor begins
Check that the Faucet/Tap-Hose Connectors you
have will fit a set of taps in your home. While we have provided options that will work with most taps, we cannot guarantee that any supplied by us will fit your taps. You can get alternatives at good hardware stores.
Read the instructions – they have been created from many experiences with the pool!
Estimate how long it will take to fill the pool with your hot water system: the Regular Pool is approx 4 bathtubs full of water and the Mini Pool is 2.5-3 bathtubs. Practice setting up the pool to familiarise yourself with it before labour begins. Warm the pool up to room temperature before unfolding. Remove jewellery or other sharp items from your body and clothing.
Setting up your Birth Pool in a Box – 15 to 30 minutes
Ensure Pool and single-use Liner are both at room temperature before unfolding and inflating.
Remove from all packaging and leave to stand for 72 hours if they have been exposed to temperature below 10 °C. – the material becomes brittle at low temperatures.
IF THEY ARE COLD TO THE TOUCH, DO NOT UNFOLD OR INFLATE.
Prepare floor area
- Remove sharp objects
- Sweep/vacuum
- Place Floor Cover on floor
If your floor is concrete, stone or tile, place a rug or blanket flat underneath to reduce heat loss into floor. The pool width increases when filled with water – leave10 cm space to the nearest wall.
Tip
The midwife will want room to assist from at least 3 sides of the pool. A floor covering is recommended.
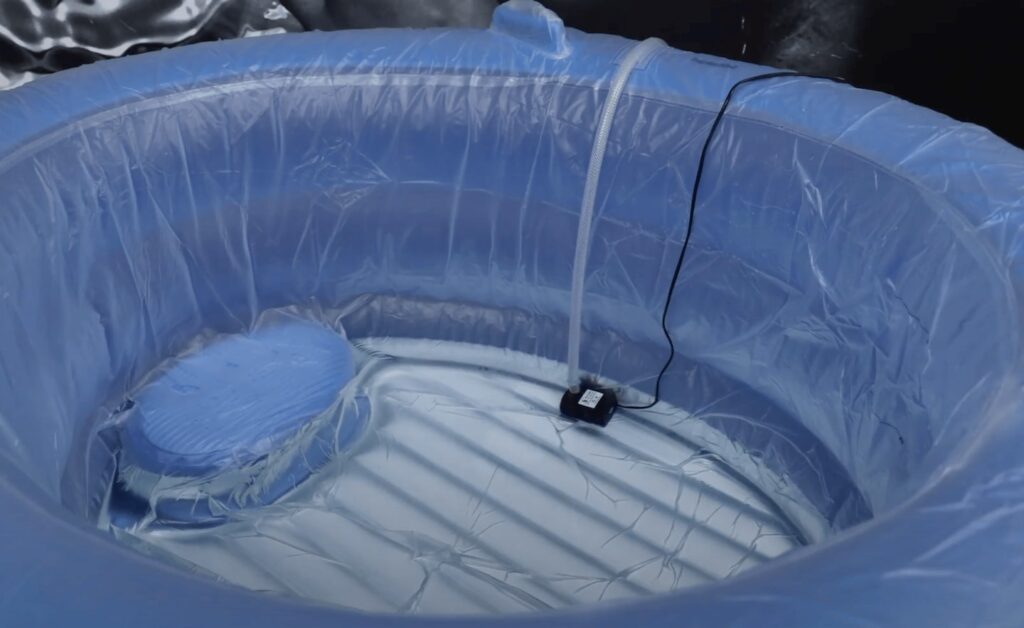
Inflate floor and seat
Lift floor valve 5 cm above floor, place nozzle in valve and Inflate the floor until creases have largely disappeared, then close the valve firmly. Repeat with the seat – inflate and close valve firmly. Twist the pump nozzle in the valve if pumping is difficult – the outlet may be blocked by material.
Tip
One side of base of the valve can be pushed open by the nozzle. Try different angles! Insert until you get a soft click. Over-inflation is a cause of floor seam failure.
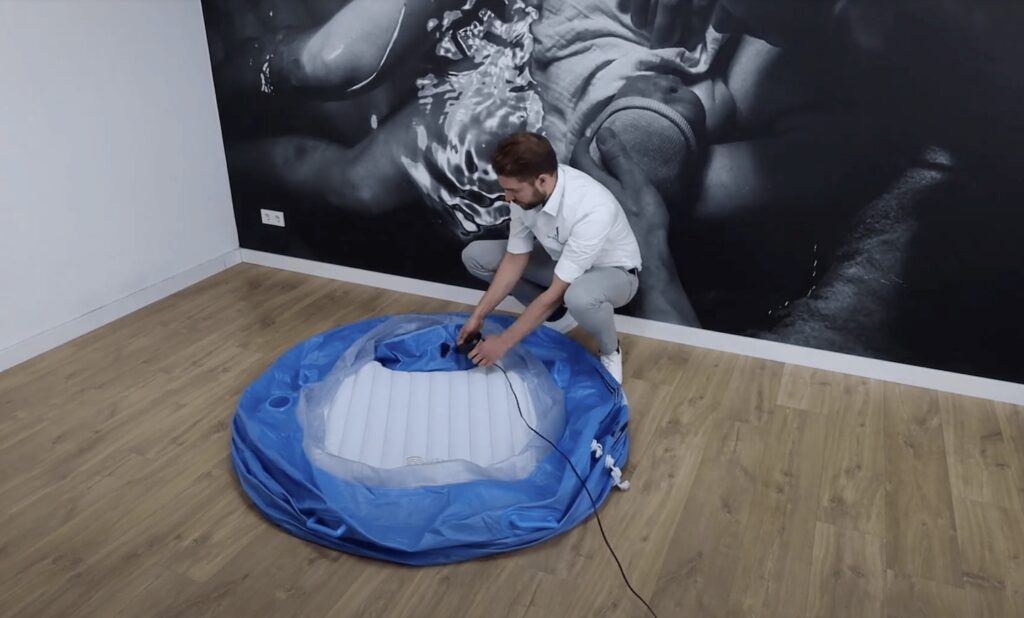
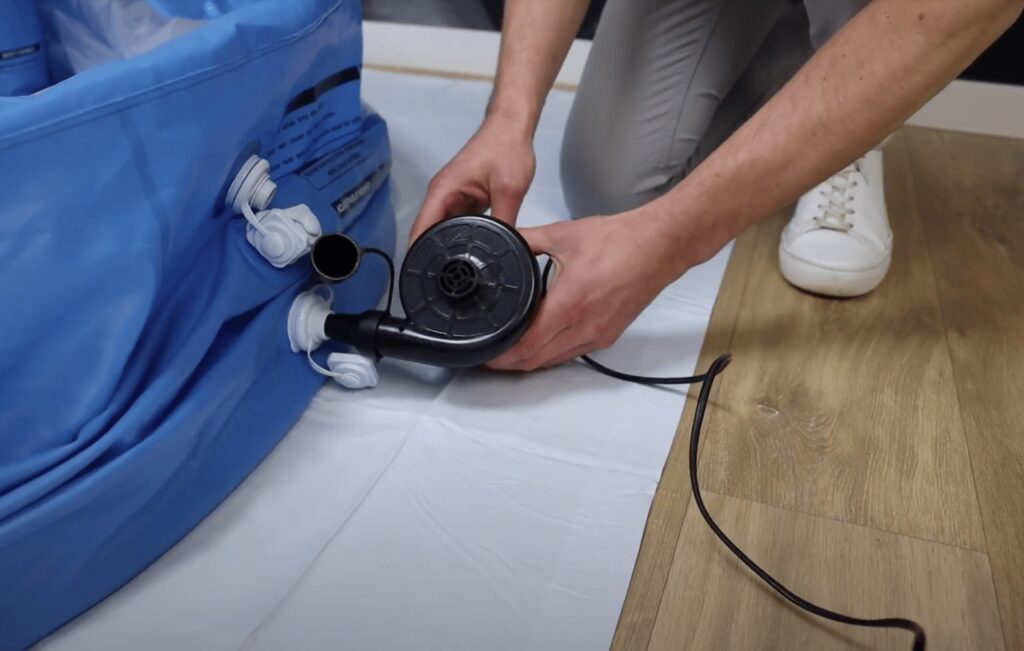
Inflate 3 side chambers
Screw the round flange tightly into three large white valves and ensure the cap is removed (see picture). Inflate 3 side chambers, the lowest first. Leave the top chamber about half inflated – sagging – to enable the Liner to be fitted.
Tip
Twist the nozzle as you insert. Over-inflation is a cause of failure.
DO NOT USE COMPRESSOR
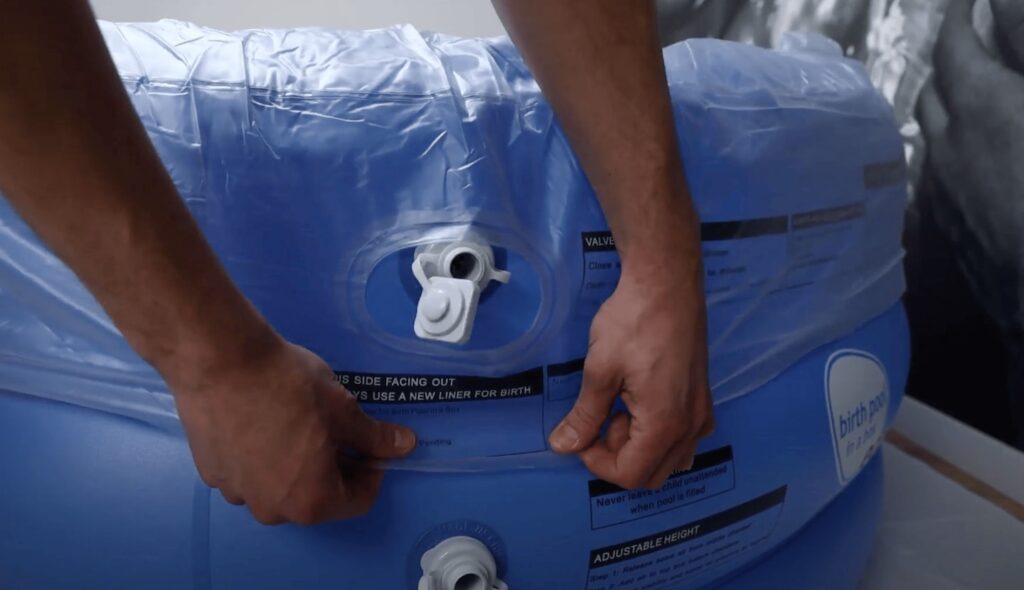
Placing liner
Place Liner on pool with holes fitting over handles and valve to secure liner. Complete inflation of top chamber.
Tip
Liner can stretch. Always use a new Liner for birth.
Reduce pool height
Discuss with your midwife whether the pool height is appropriate. To reduce total height, open the valve on middle chamber for a few seconds. Then add air to the top and bottom chambers to increase firmness.
Tip
The middle chamber must be at least 20 cm to retain stability.
Top-up wall chambers
Top up the wall chambers and put away the Electric Air Pump and any other portable mains electrical devices before filling pool with water.
Filling the Birth Pool 30 minutes to 2.5 hours
Filling time depends on your hot water system. A powerful on-demand combi boiler will fill the pool in about 40 minutes.
Always use a Liner even for practice runs – it is a backup container for the water in case of an accident or problem. The warranty is voided if you do not use a Liner each time and a new Liner for the birth.
Step 1
Attach the faucet/tap-hose connector to the faucet/tap and secure the hose onto connector.
Tip
Never reuse a hose that has been used to empty a pool after birth.

Step 2
Run warm water through a hose into a sink or drain for 2 minutes. Then turn taps off.
Step 3
Push the open end of the hose through the slot on the Liner with the label “Insert Hose here” and leave the open end high above the pool floor.
Step 4
Begin filling pool with water at approx 37 °C. The water temperature will fall approx 2 °C while filling without a ClearFit Heat Cover and less than 1 °C with one.
DO NOT BEGIN FILLING WITH ONLY HOT WATER – this may damage the Filling Hose, Liner and Pool.
Tip
Go 1-2 °C higher if you plan to enter the pool a few hours later, or more if you do not have a ClearFit Cover. Do not use water above 45 °C.
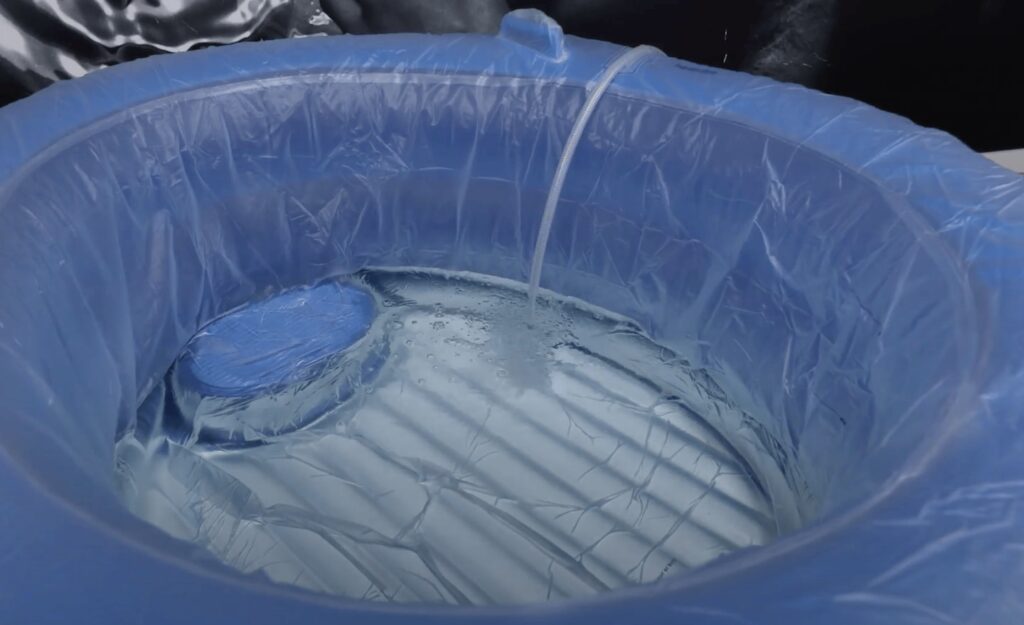
Step 5
Once the water covers the floor of the pool, flatten and smooth out folds and kinks in the Liner around the floor and seat (if applicable), removing any air pockets. Place ClearFit Heat Cover over the pool, with holes fitting over handles. Turn off the water and remove the hose to do this, and then push the hose through a top handle and the hole in the ClearFit Heat Cover until the end of the hose rests on the floor of the pool.
Tip
Do this before the water is 5 cm deep or the liner will be hard to move. Air is expelled through holes around top handles, or grommets.
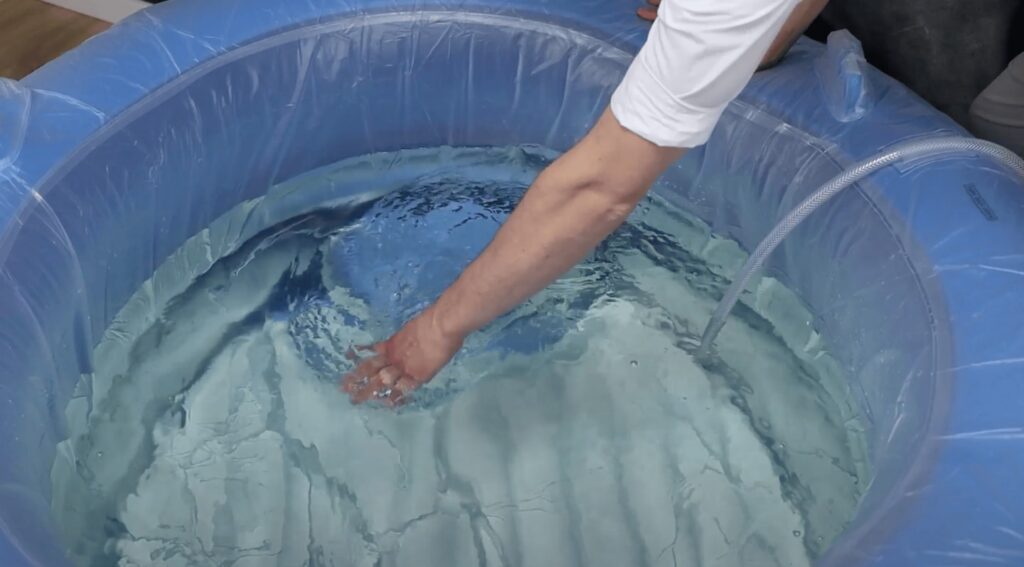
Step 6
Mix up water and monitor water temperature every 15 minutes and adjust as required.
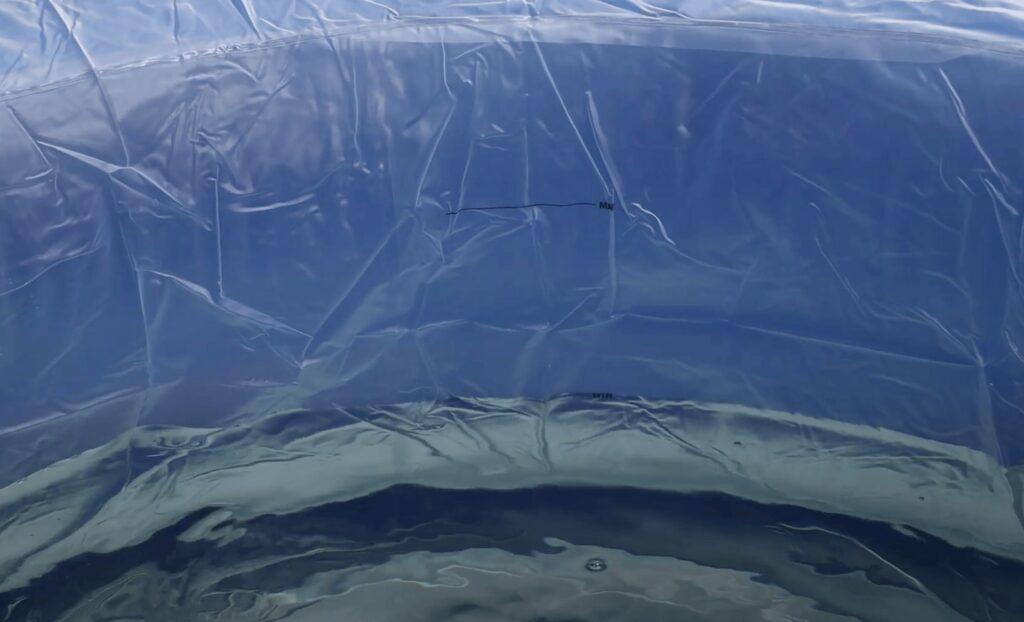
Step 7
Fill with water to top of middle chamber – the level of the MINIMUM water mark on the liner.
Tip
You can add more water later if needed.
Step 8
Remove any ClearFit Cover, Thermometers and Filling Hose from pool before entering.
Step 9
Secure MyAnchor (black strap – if applicable) to the outer handles of the pool away from the top handles and adjust strap length as required. An additional turn back through the buckle prevents slipping.
Filling Time
Filling time depends on your water supply and can range from 30 minutes to 2.5 hours. Should you need to speed up filling and are short of hot water, heat water on stove and add this water to the pool, taking care that the woman is out of the pool and POUR THE HOT WATER AWAY FROM THE SIDES OF THE POOL. Then agitate the water to diffuse the hot water around the whole pool. The time to start filling the pool is in early labor. It’s better to be a little early than too late!
Maintaining the Temperature
This can be the responsibility of the woman’s partner. With the ClearFit Cover on, the water will only lose approximately 0.5 °C per hour, depending on the temperature, humidity and airflow where the pool is located. To adjust the temperature to body temperature, simply remove some water with a clean bucket and add hot water either through the hose or from a pan/kettle as required – WOMAN MUST GET OUT FIRST. POUR HOT WATER AWAY FROM THE SIDES OF THE POOL.
Water Freshness
The water remains “fresh” for approximately 24 hours. After that, we advise that you empty the water and refill the pool. If your Submersible Water Pump has been used before, remove the Liner and put a new one in place before re-filling the pool – trapped water in the pump may have harmful bacteria inside.
Practice runs
You may wish to have a practice run, setting up and filling the pool. To do this, we strongly recommend you buy an extra Liner to ensure that the liner you use for the birth is clean. Never fill the pool with water without a Liner.
Emptying the Birth Pool
Using the Water Pump with the hose – 40-60 minutes.
Step 1
Remove any debris from the water with a strainer and discard. Debris may block the Submersible Water Pump.
Step 2
Attach the smallest adapter from box onto the top of the Submersible Water Pump. Push one end of the Filling Hose onto the adaptor nozzle.
Tip
It may be necessary to soften the hose end with warm water and/or use a blunt knife to expand the hose.
Step 3
Lower the pump to the bottom of the pool at one end of the pool.
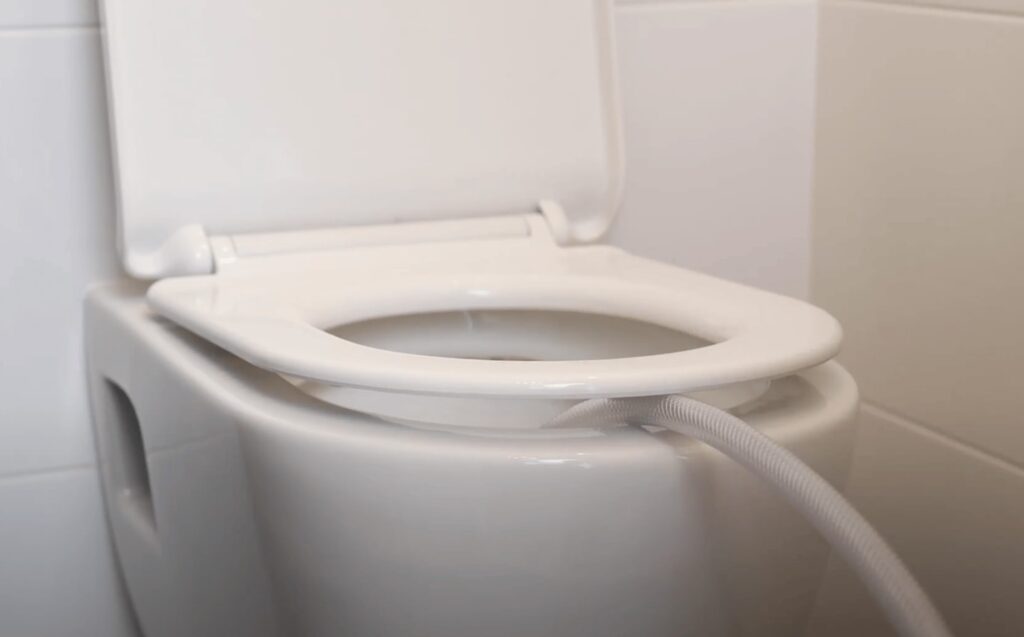
Step 4
Place other end of the hose in a toilet or outside drain. Plug in and switch on the pump at the socket.
Tip
Check Submersible Water Pump instructions for troubleshooting.
Step 5
When pump starts to suck air, remove the liner from one end and pull it towards the pump to increase water depth. Unplug the pump once the water stops flowing.
Tip
Do not leave the pump unattended.
Step 6
Dispose of items disposable and not required again: e.g. Liner, ClearFit Cover, MyAnchor, Strainer, Thermometer, Filling Hose, Submersible Water Pump.
Tip
The liner can be used as a bag for all these items.

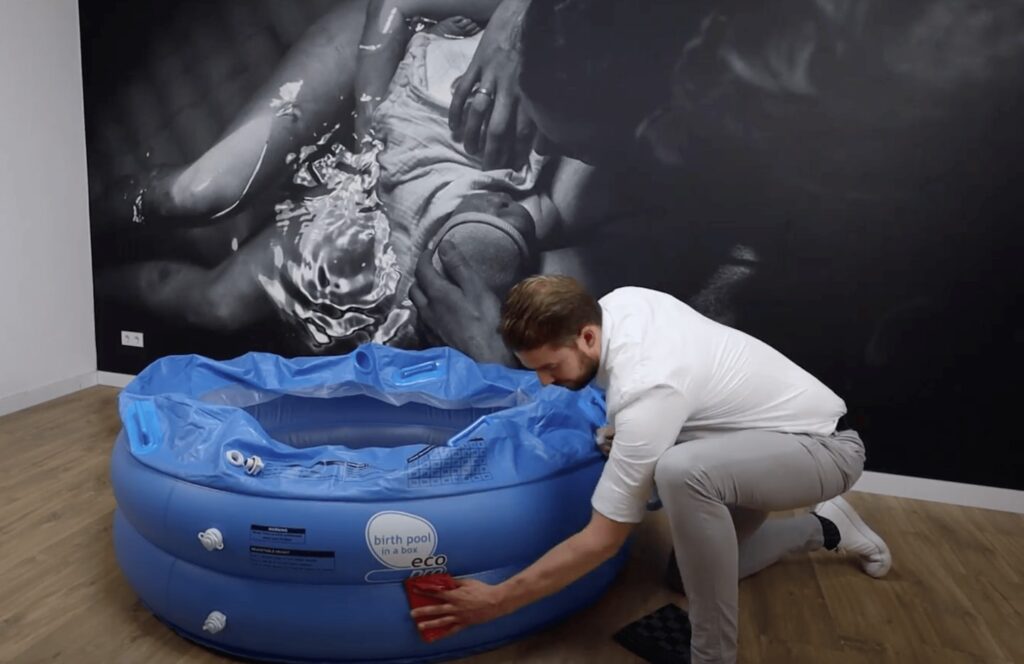
Cleaning and Packing Away
Step 1
Wipe pool with a cloth soaked in detergent.
Soak a cloth in a sterilising solution and wipe again. Stand to dry.
Step 2
Attach the smallest adapter from the box onto the top of the Submersible Water Pump. Push one end of Filling Hose onto adaptor nozzle.
Tip
It may be necessary to soften the hose end with warm water and/or use a blunt knife to expand the hose.
Step 3
Fold the pool to fit into a nylon bag. Air will be expelled through large valves as you fold.
Troubleshooting
Pool sides not firm enough
Add air to the pool with the pump. Do not use an Electric Air Pump if the pool has water in it. Stop when total height is 71-72 cm – pool should then be firm enough to sit on side walls for women less than 95 kg. For a Regular pool with cupholder stop at 76-77 cm.
The pool appears to deflate rapidly
Re-inflate and check all valves are secured.
If reoccurs, re-inflate and listen for any air leak and patch over the leak with repair kit, or use Duck/Gaffer tape. If this doesn’t solve the problem, contact Birthpools.
Side walls too high to get out safely
Sit on sides and swing your legs over. Alternatively, open top or middle chamber valves to release air, reducing height. Opening the top valve also reduces the width as
woman exits.
The pool loses heat faster than expected
Close windows and doors. Turn on the heating in room. Place ClearFit Heat Cover on when the woman is not in pool. Close forced-air vents in the room if applicable. If the floor is stone or tile, empty the pool and place blankets under the pool.
Temperature measurements differ with different thermometers
Check that pool water is mixed, reading is taken from the same place and thermometer instructions are followed.
The Submersible Water Pump not working
Check the electricity supply. Then check the manufacturer’s instructions – the pump may be blocked by debris. Strain water and unblock the pump then try again.
Warranty
This warranty applies only to the original purchaser.
We will replace any Personal or single-use product with a manufacturing defect reported and returned within 60 days of shipment. You must do a practice set-up of the pool in time to return the item for inspection and receive the replacement before your birth. We inspect the returned items and contact you to arrange either a replacement or to refund you within 5 working days
of receipt.
The warranty period for Professional products is four years or 40 uses, whichever is earlier.
This warranty does not cover punctures, cuts or abrasions caused by careless handling or improper storage in contravention of the instructions.
Returns Information
Watch our returns information on our website www.birthpools.com
Support
Contact us for support with our products.
+31 (0) 50 751 85 60
help@birthpools.com
www.birthpools.com
European supplier
Birthpools is the exclusive European supplier and partner of Birth Pool in a Box products.